
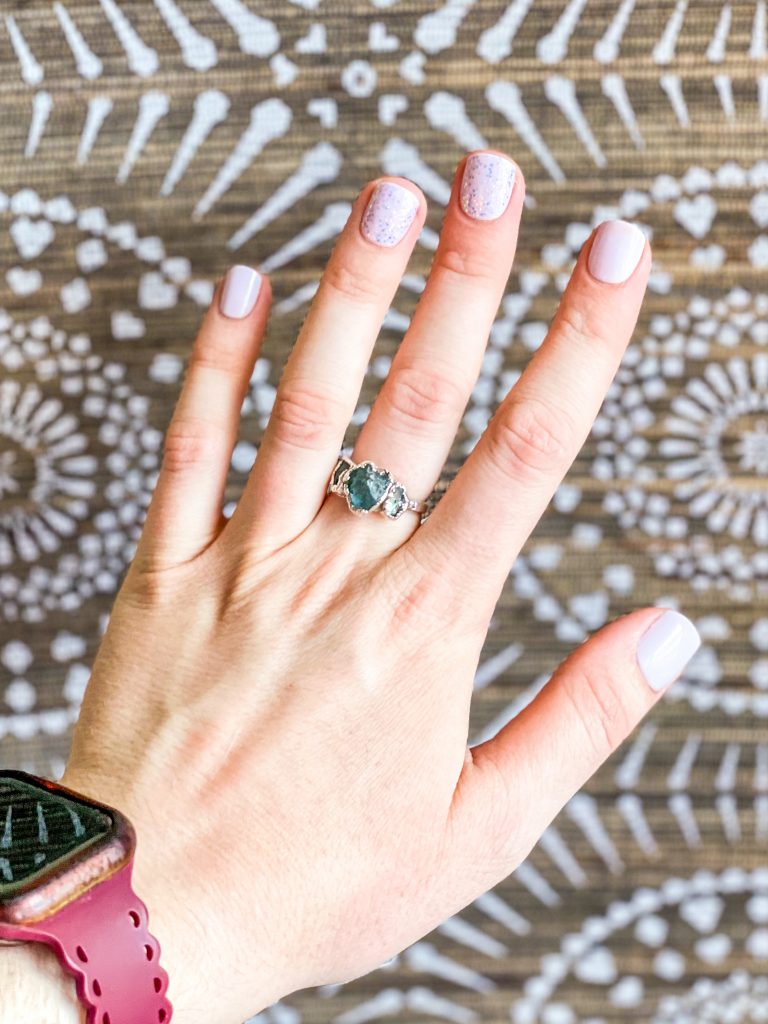
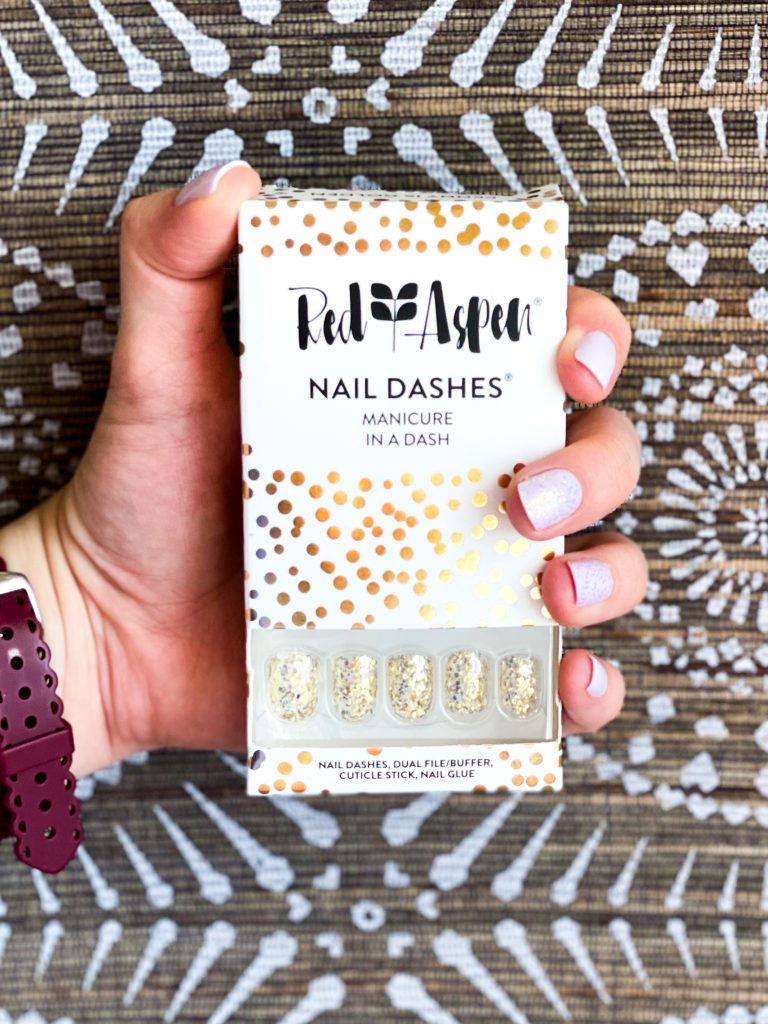
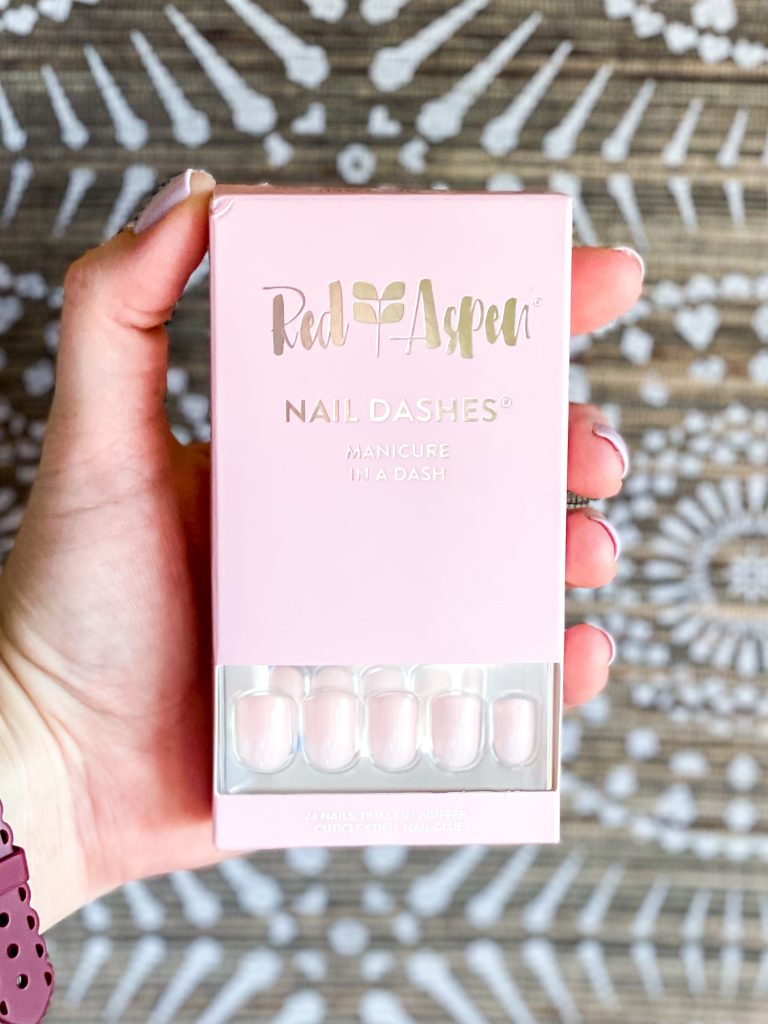
You guys! Here’s the thing. A few months ago I had a post all ready to go with a breakdown on how to do your own gel nails. BUTTTTT then I started wearing Red Aspen Nail Dashes and I.am.hooked. I will never go back to any other kind of manicure. We’re in a committed relationship. Red Aspen Nail Dashes are glue-on nails, but I promise you they are not the nasty press-on nails of the 90s!
I have loved doing my nails since I was in middle school. From the time I was 13, I would paint my nails anytime, anywhere — even in church! (Sorry, mom hahaha.) I have tried it all from high-end polish and nail art to nail wraps and gel. They each came with their own problems. Wraps are so cute, but it bugged me how they would fray at the ends after a few days. I really loved doing my own gel, but it’s very time-consuming and the removal can be damaging. Before COVID, I would occasionally get them done in a salon, dropping $50 each time.
I noticed Nail Dashes started really becoming popular as COVID continued to drag on in 2020 so I decided to give it a go. Especially at a time when getting to a salon is difficult, these are the best life hack. I promise you when I say Nail Dashes are amazing, I’m not messing with you!

ALL THE DEETS:
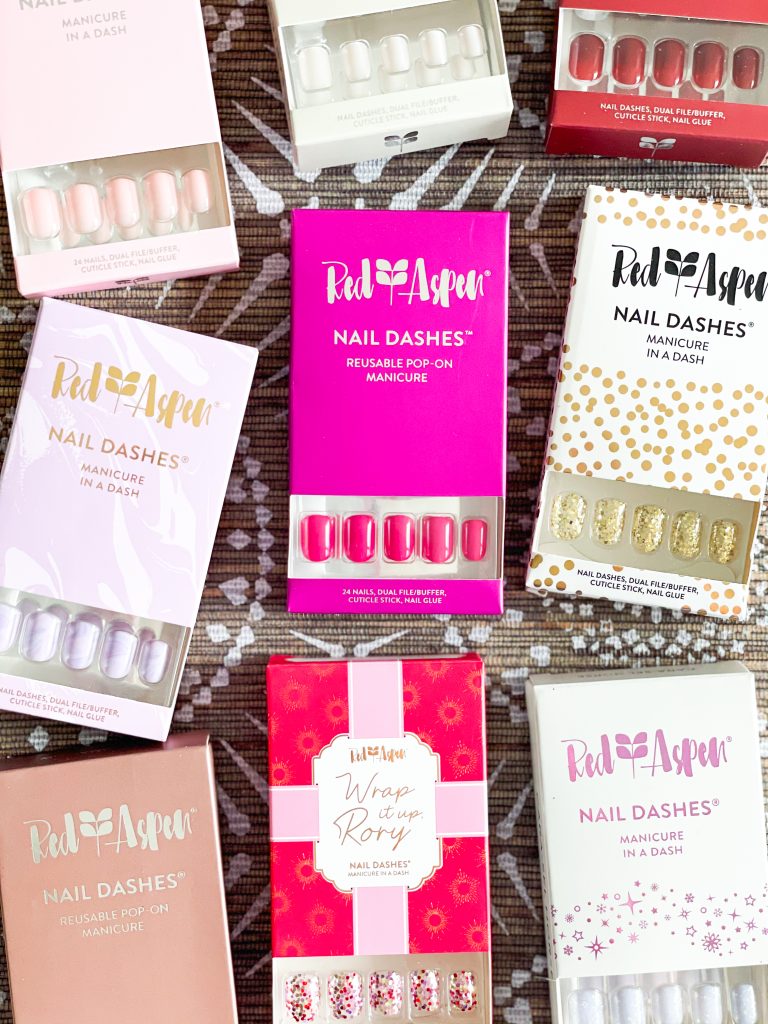
They take less than 15 minutes to apply, last up to 2 weeks, and are so affordable! Most are $13-15 per set! They are GORGEOUS and look and feel like dip nails.
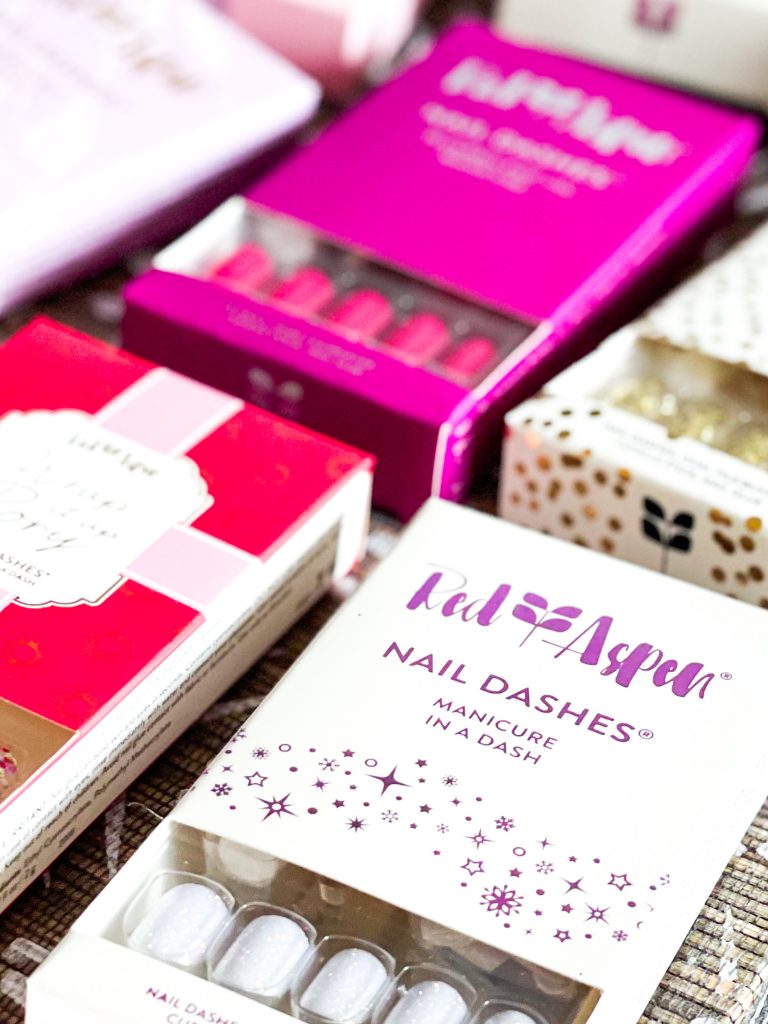
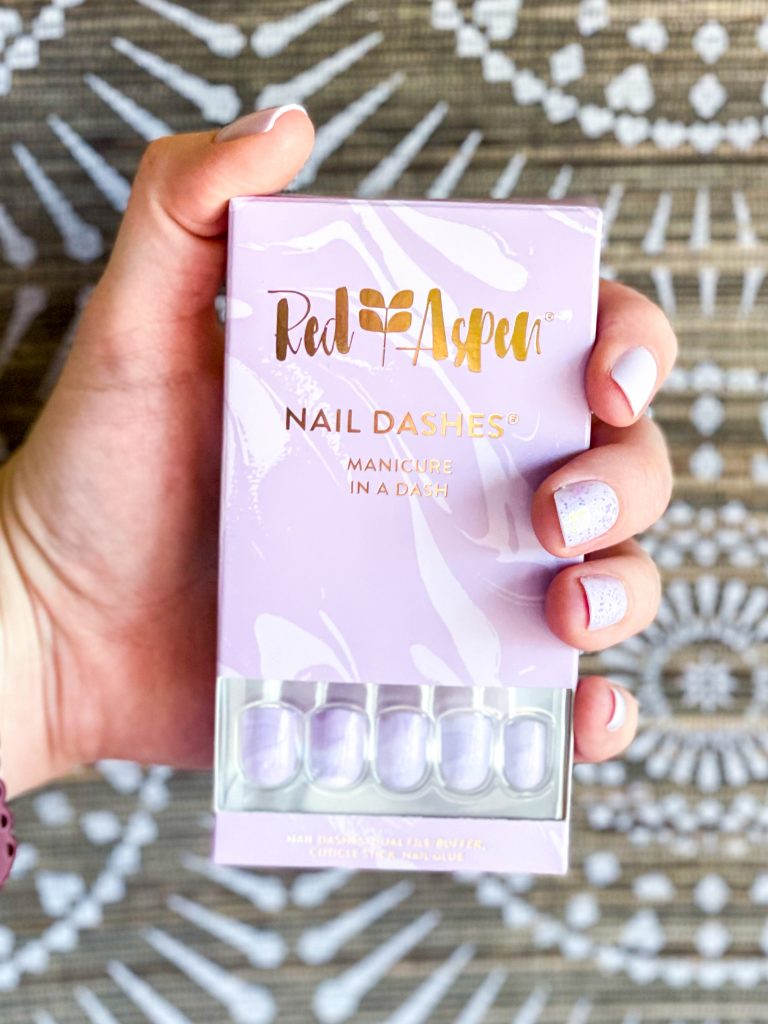
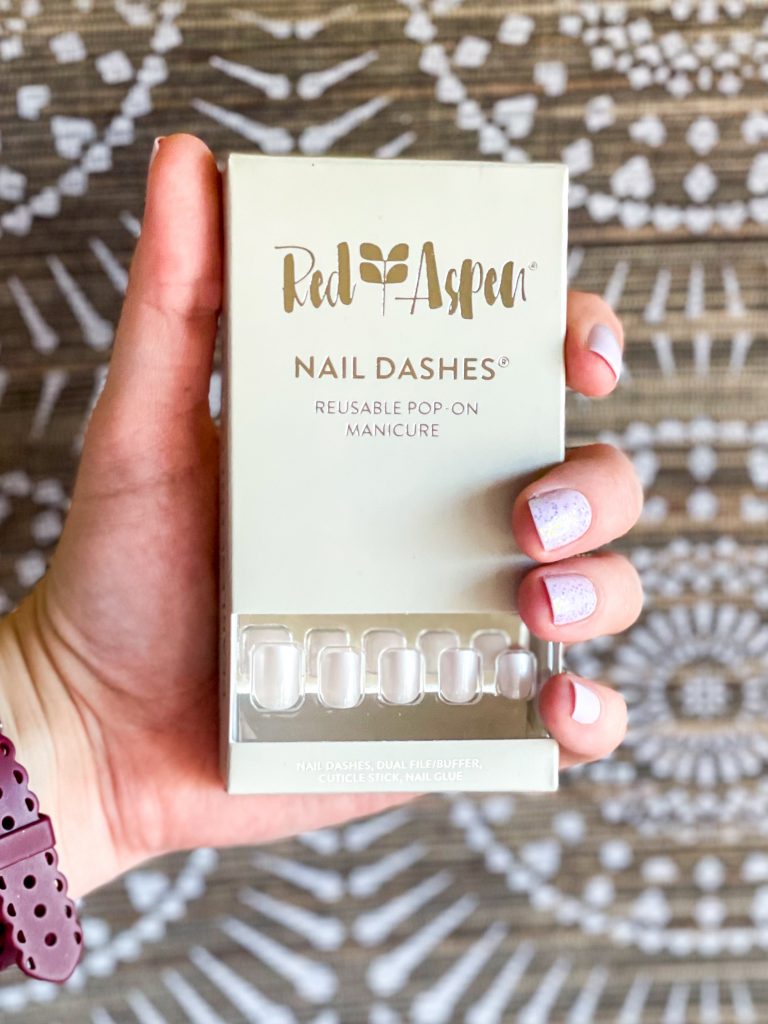
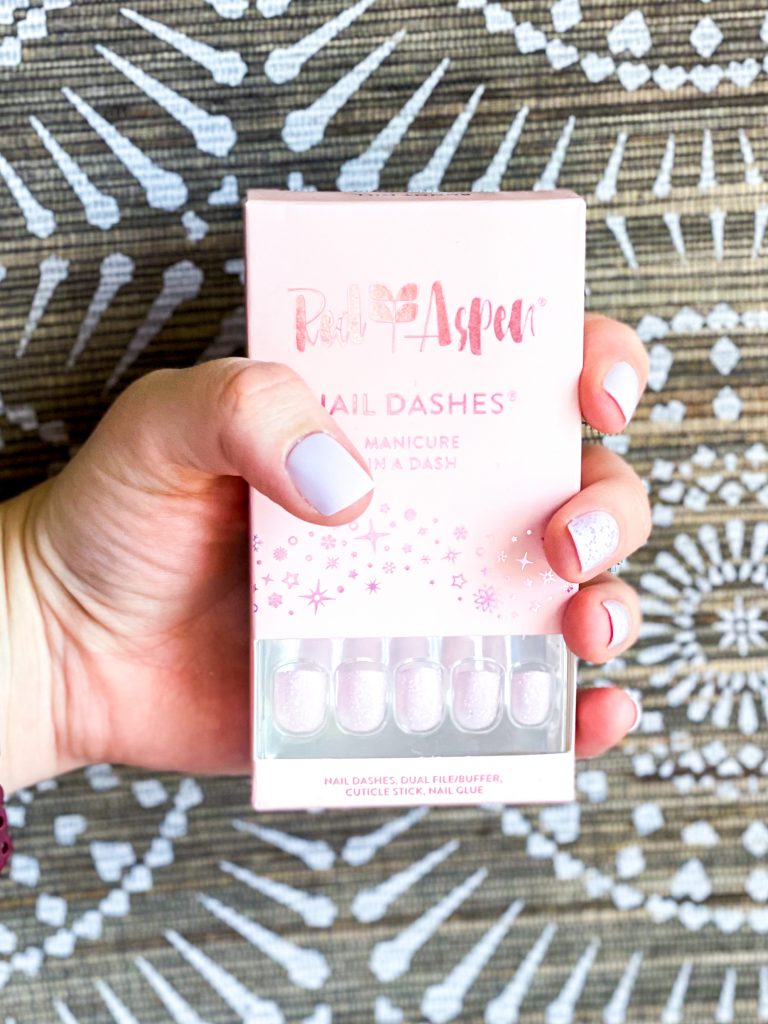
Each Dash pack comes with at least 24 nails (you’ll only need 10, which means you’ll have 14 backup nails), a mini cuticle stick, a mini dual buffer/file combo, a nail glue, and a silver mat.
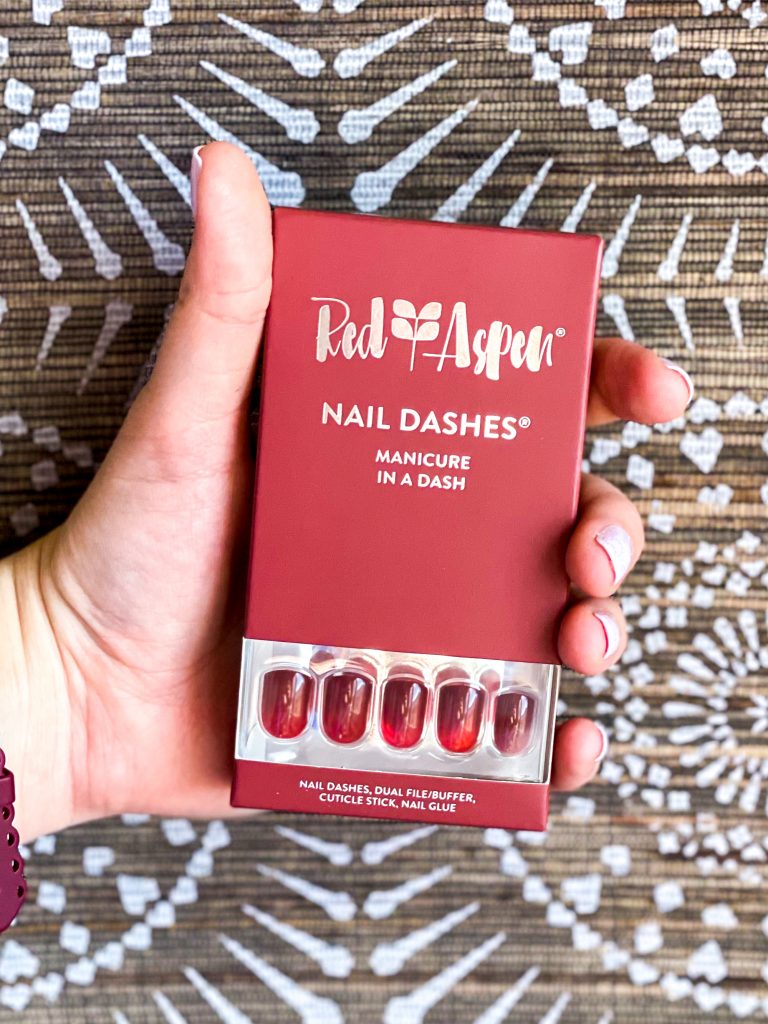
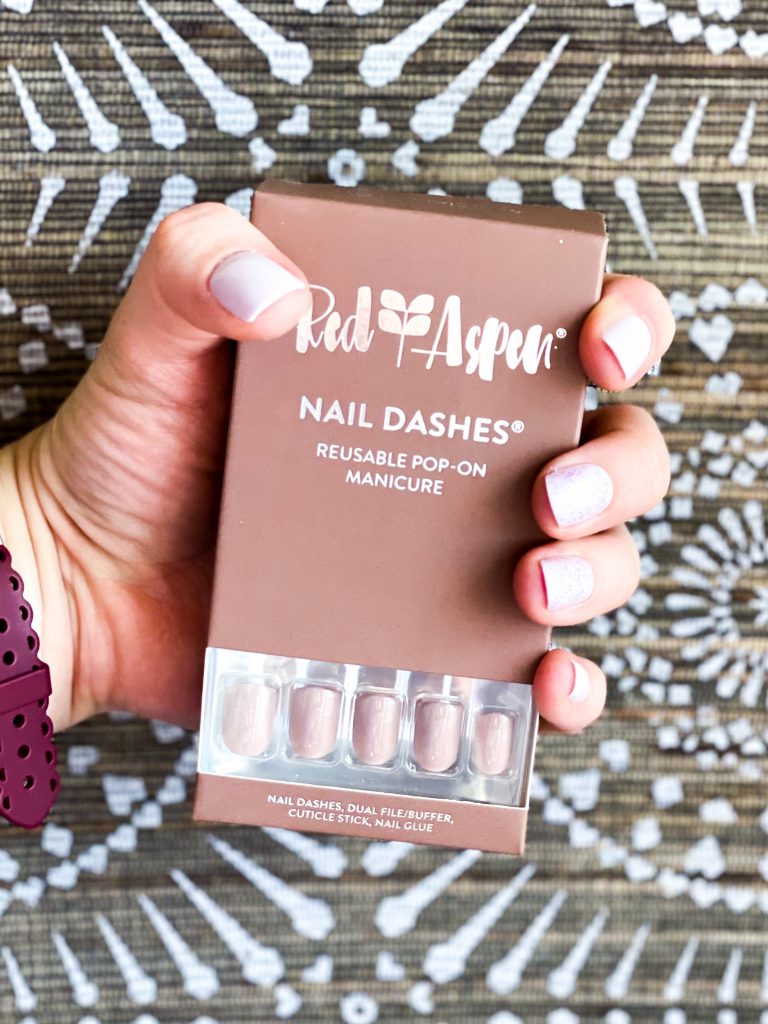
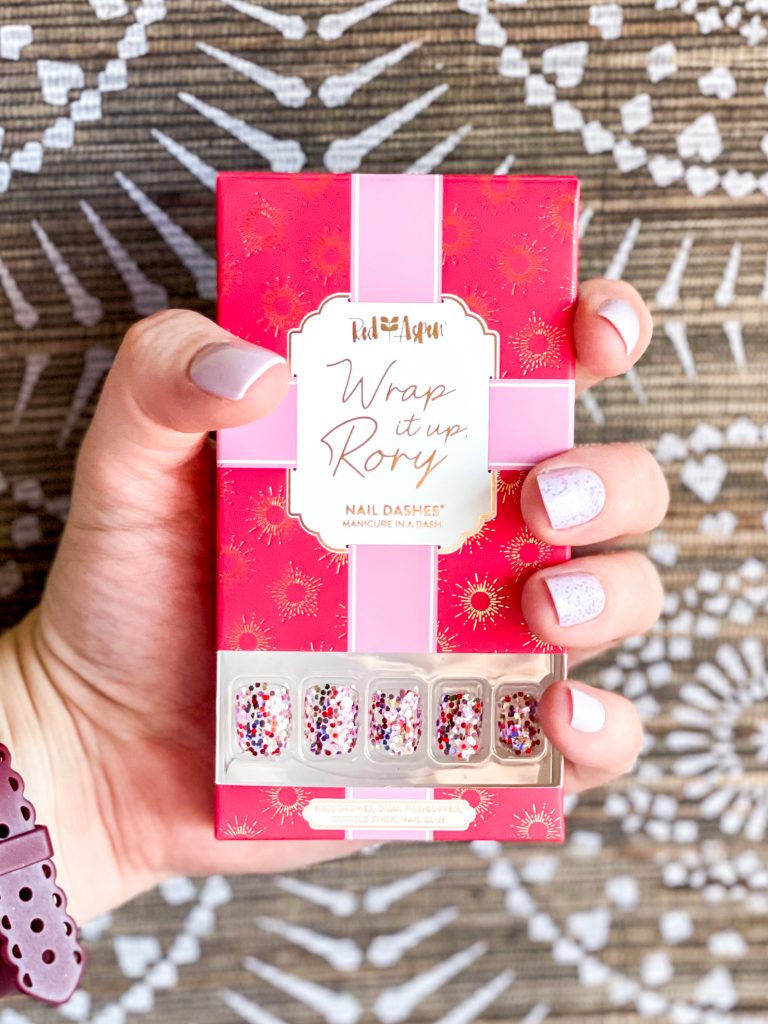
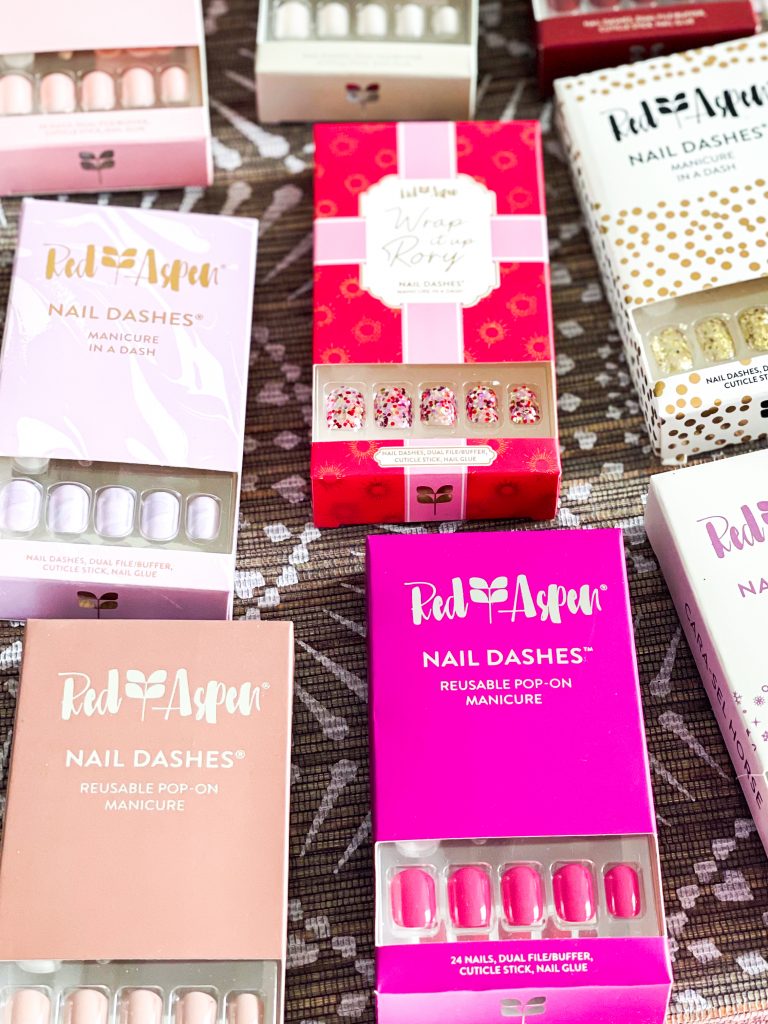
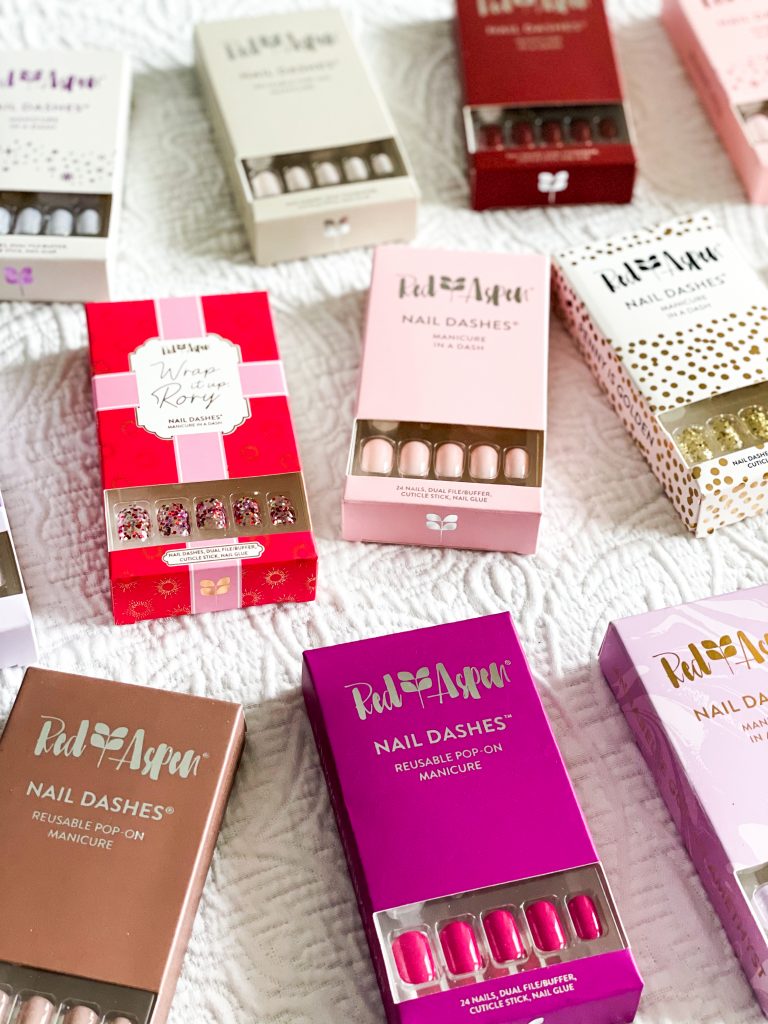
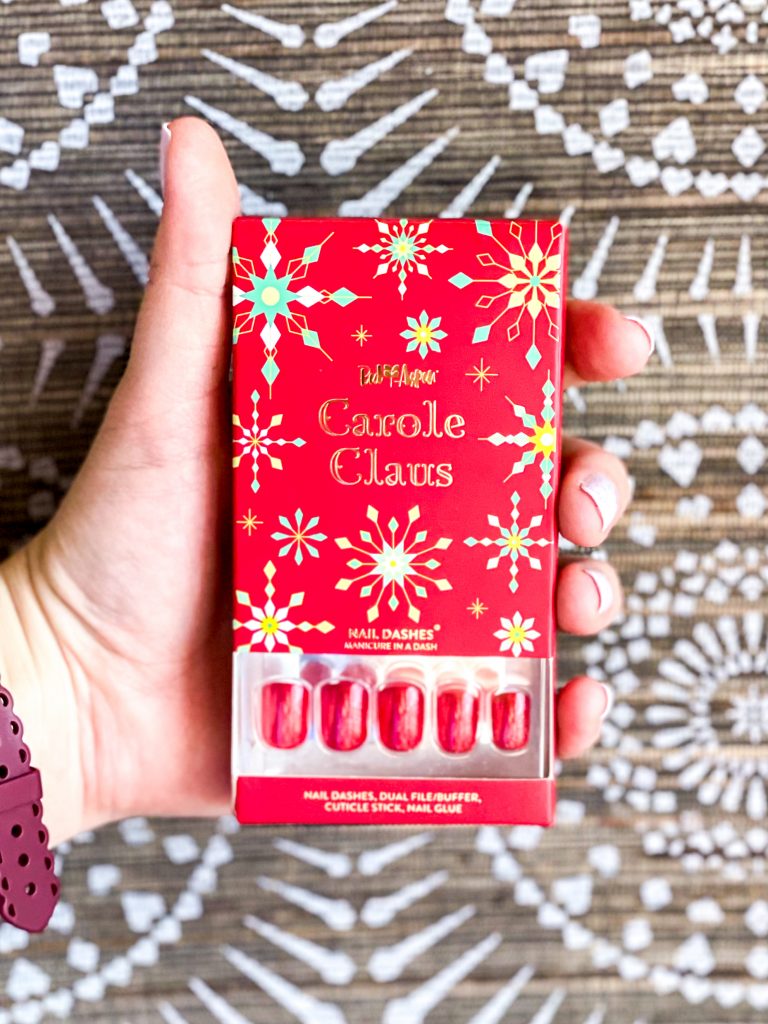
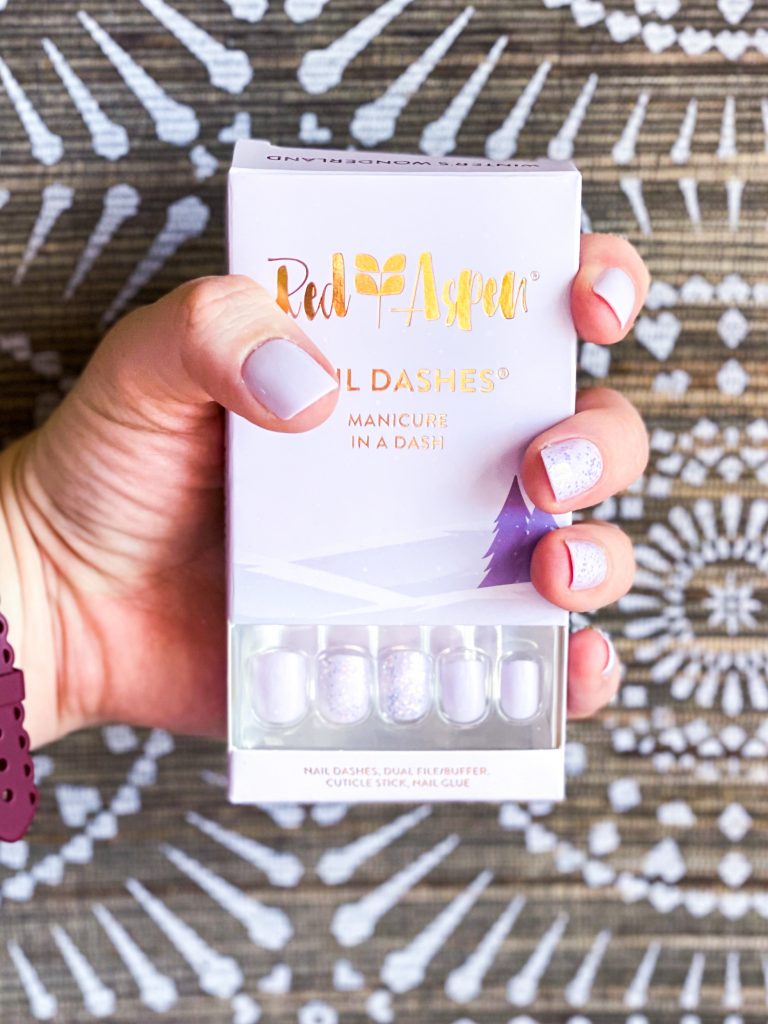
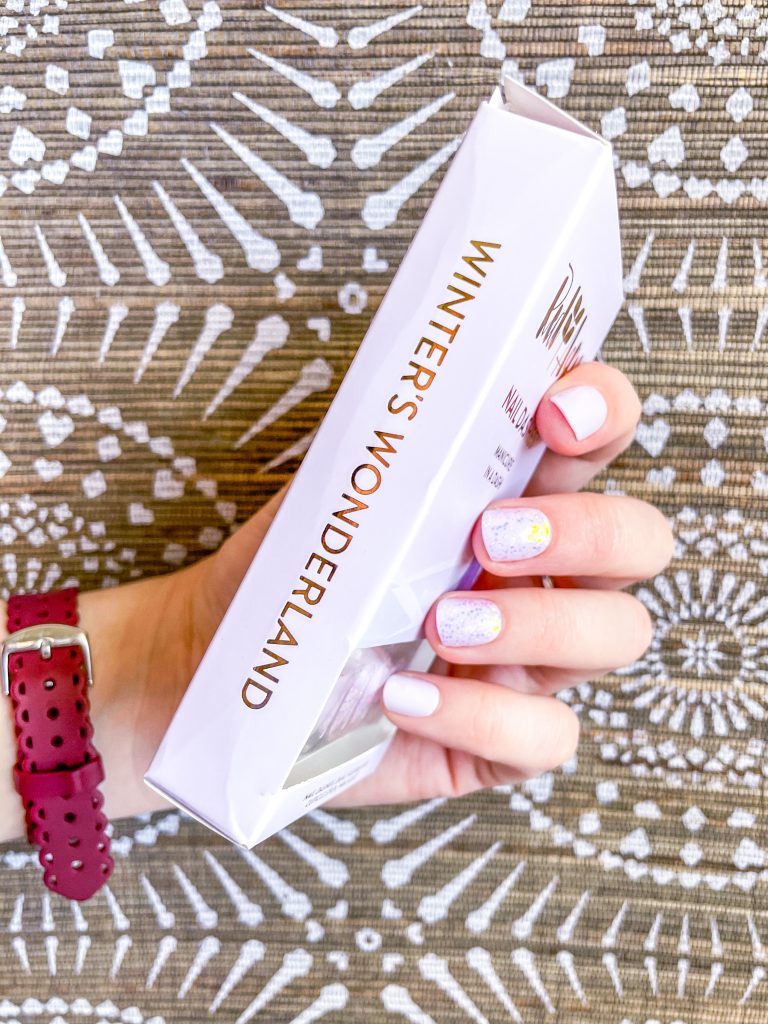
They come in so many colors, neutrals and patterns. I am a huge fan of anything with glitter! They come in a range of lengths: petite (for small nail beds and kids), short (what I usually wear), medium, and long. They come in a variety of shapes — square, almond, round, coffin, square — and are easily clipped or filed to reshape however you’d like them. In 2020, they released over 100 new Dashes, which makes me so excited for this year!
Each nail has a sizing number on the back. When doing your first set, write this down for future reference. Smaller Dashes look more natural, but can cause damage if they are too small and you have to force them down when gluing. If in between sizes, I prefer to size up and file the edges to fit comfortably if needed (see application instructions below). I usually size up on my thumb Dashes and file them to fit.
I have also found that Dashes that are too small are more likely to pop off. Since realizing that, I have rarely had any pop off before two weeks. If you do have a Dash come off, fixing it is as simple as applying a dot of glue and sticking it back on. Sooo much easier than having to go back to the salon for a fix or having to pull your gel lamp out and go through multiple coats to reapply.
I haven’t had to be more careful with them than usual. With my last set, I cleaned out a garage, washed dishes, scrubbed my hair (with no nails ever getting caught!), opened packages and wrapped a ton of Christmas presents. I don’t pick at things like stickers, but I wouldn’t do that with any type of manicure. If you’re especially hard on your nails, I recommend applying the longest glue application time frame (see the box for instructions).
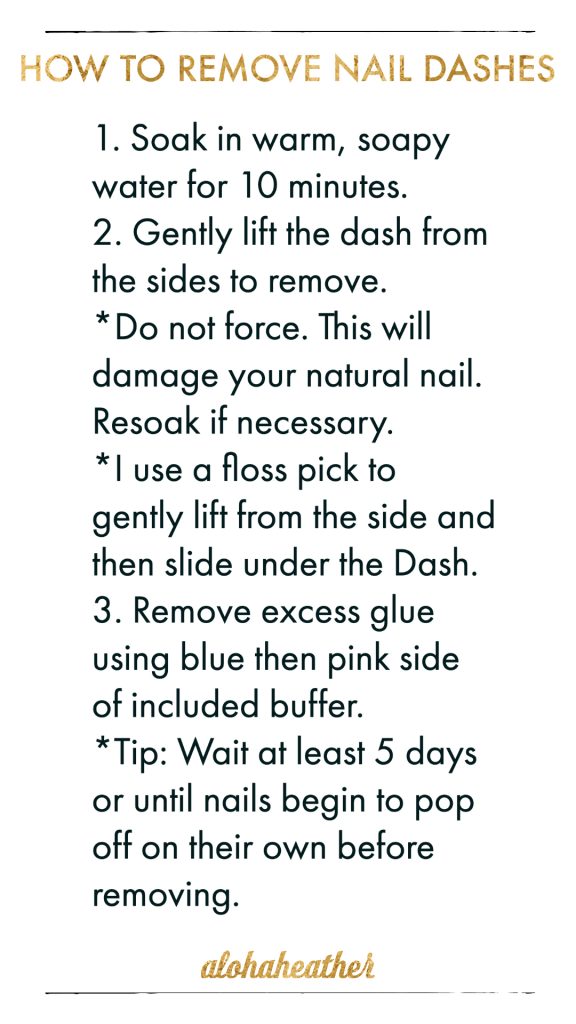
Here are the instructions for application and removal. I also filmed an IGTV video walking through the application with extra tips — check it out here or @alohaheather
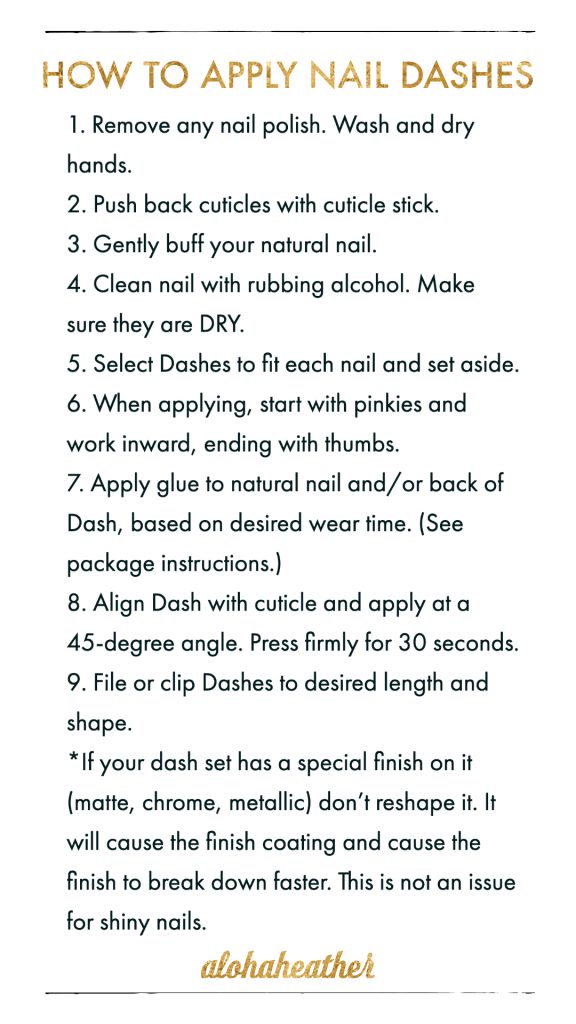
The key is to PRESS FIRMLY for 30 seconds! This prevents air bubbles from forming under the Dash and ensures a good seal.
Try to avoid getting any glue on your skin or top of the Dash. If you do, nail polish remover or vinegar will remove the excess glue. (Be careful not to use too much – it can damage the finish. Don’t use nail polish remover on matte finishes.)
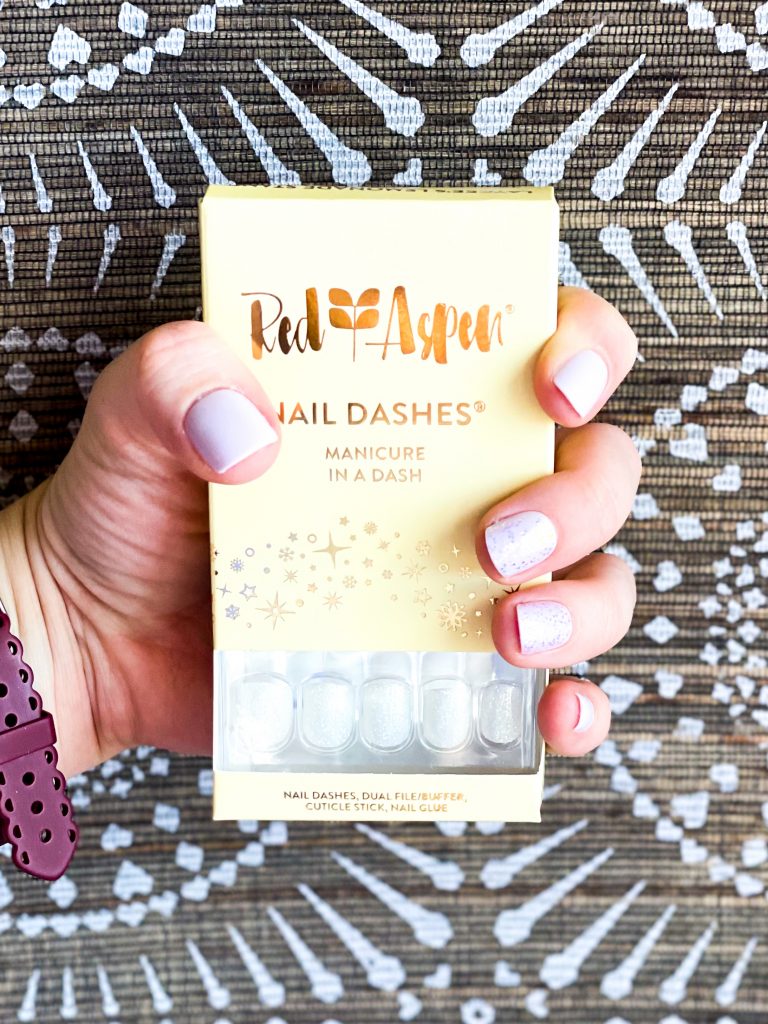
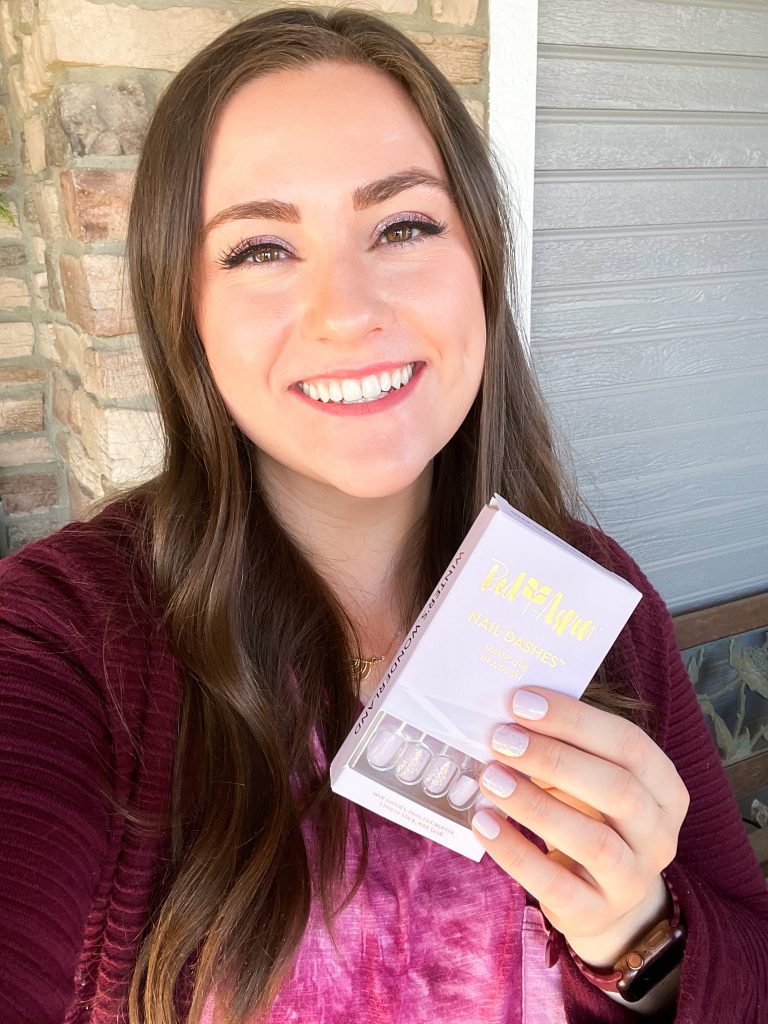
When you’re done, marvel at how amazing your nails look! When people compliment your nails, enjoy the thrill of telling them that they aren’t gel or dip! 🙂
Removal after soaking them in soapy water is easy-peasy and doesn’t cause damage. My gel-bullied nails are rejoicing! Haha. Another amazing thing? If they’re still in good shape, you can reuse them! If you loved your set, but they have grown out, you could seriously take them off and reapply.
Next, if you’re like me, spend a ridiculous amount of time debating which set to put on next! So many nails, so little time!
TO RECAP:
- Easy to apply — takes less than 15 minutes!
- Last up to 2 weeks
- Fraction of the salon cost
- So many fun colors, neutrals, designs, shapes and lengths
- Look and feel like dip nails
- Non-damaging and easy to remove
- Reusable!
- No getting caught in your hair!
If you have any questions leave a comment or reach out on Instagram @alohaheather. (Tag me in your nail selfies!) I hope you fall in love with your Dashes just as much as I have!

If you’re hooked on Nail Dashes and want to make money when you share (and on your own purchases!), sign up to be a Brand Ambassador here! It’s inexpensive and awesome! (Post about this coming soon! If you have questions comment here or message me on Instagram.)
Leave a Reply